DIY Simple Blackout Curtains
After spending countless hours online shopping and buying and returning no fewer than 4 sets of curtains while decorating our nursery, I finally decided that the fastest solution was to make my own rather than waste any more time in the shop-buy-regret-return cycle I was in.
This was my foray into curtains and it was a very simple project even for only occasional sewers like me. So, here’s a quick tutorial for those who want to try it themselves.
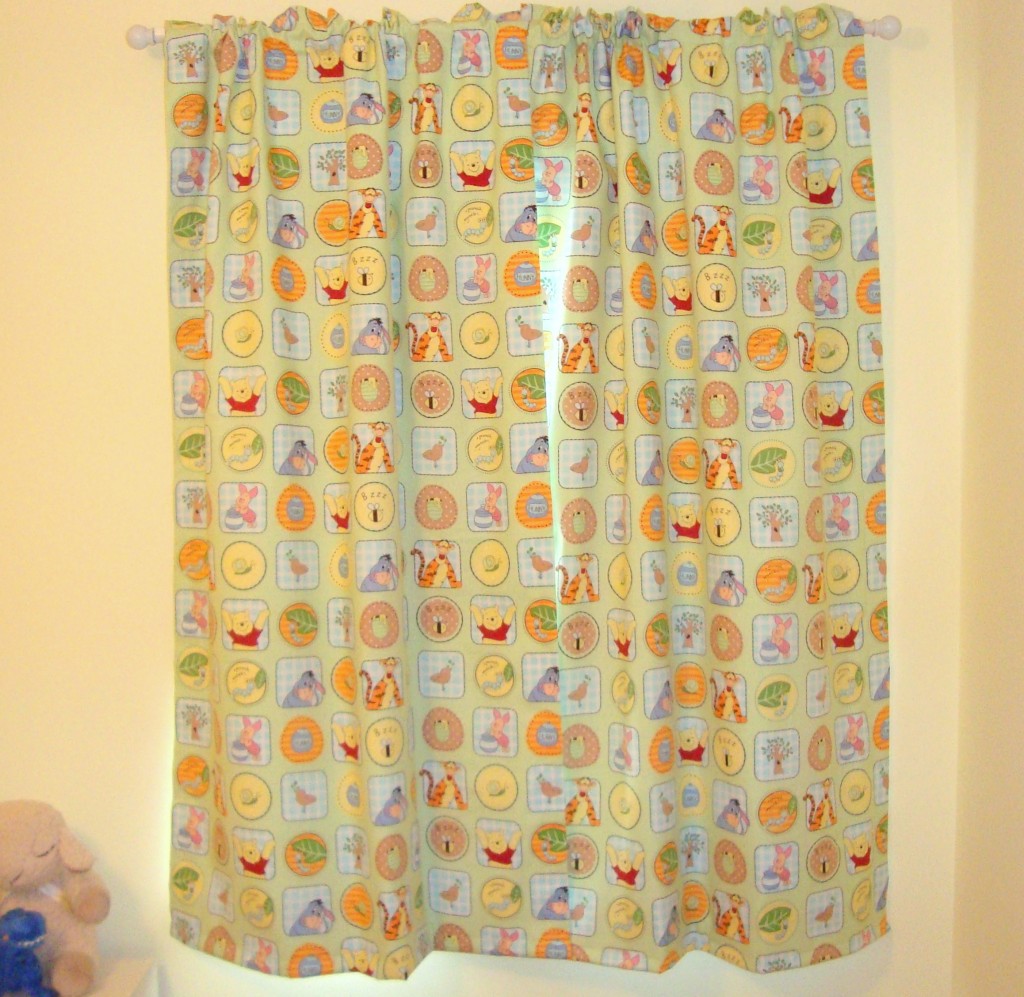
I made 2 panels per window of simple blackout-lined pocket curtains. These have a 1″ trim above the curtain rod. They hang even with the bottom trim of the window (below the ledge) and I made a 2″ pocket for a basic curtain rod. If you have a bulky curtain rod, want higher trim or the curtains to hang longer, just adjust the measurements below accordingly.
What You Need:
curtain fabric
blackout lining
matching thread
iron
measuring tape
pins
pencil
sewing machine
Budget:
I already had the basic sewing supplies, so I spent a total of $34 per window for curtain fabric (4 yards), blackout lining (1 2/3 yards) and thread. (For comparison’s sake, the Pottery Barn Kids blackout curtains I returned were $50 per panel. That’s $100 per window. Not a bad savings! And I like the final product better!)
Measuring for Fabric:
Determine how much fabric you need by measuring:
- Width of window outside of molding to outside of molding x 1.5 = total width needed for curtain. Divide this number by 2 to determine width per panel. Then add ~6″ for seam allowance.
- Example: My window is 36.75″ across x 1.5 = 55.125″ ÷ 2 panels = 27.5625″. I rounded up to 30″ per panel for width. The fabric I bought was 43″ width, which I cut down to 37″ to have 3 1/2″ seam allowance on each side.
- Height of window from curtain rod to desired length + 3″ for bottom hem + 5″-6″ for top hem/pocket/trim = total length for each panel
- Example: My window is 52″ from rod to bottom of molding + 3″ (for bottom) + 6″ (for top) = 61″ total length per panel
- For the blackout lining, you’ll only need the actual measurements of your finished panel because you won’t need seam allowances to finish the edges, so measure and cut accordingly.
- Lay out fabric, cut to size and iron out any wrinkles. (If you are the kind of person who washes curtains often, you may want to prewash and dry your fabric. I am more of a spot-cleaner with curtains, so I skipped this step.)
- Fold over a ~2-3″ hem on long side of curtain, then fold raw edge under. Pin and press edge.

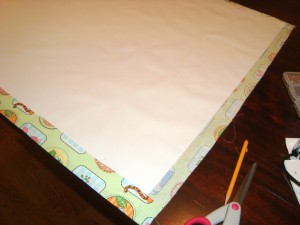
- Remove pins. Lay blackout liner on top of fabric, tucking under pressed hem, leaving room for seam allowances and trim at top and bottom.
- Fold over hem on other long side, again folding raw edge under to finish the hem. Press edge and pin together with blackout liner. Measure width at several places down curtain to ensure you have the same width all the way down.

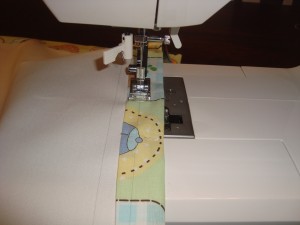
- Using pencil, mark a line ~1-2″ from edge down length of hem making sure that line runs over the folded-under raw edge and the blackout liner. Sew a straight stitch over marked line.

- Fold over 1″ at top of fabric, then fold over another 3 1/2″ — for 1″ above pocket, 2″ pocket and 1/2″ hem under pocket. If you are using a patterned fabric, be sure your pattern is straight now. Press hem.
- Mark with pencil a line 1″ from the top and another 3″ from the top. Pin fabric down with blackout fabric tucked underneath. Sew along 1″ line, then sew along 3″ line. Now you have your 1″ trim, 2″ pocket for your curtain rod and a finished hem underneath.
- Hang curtain from rod and pin bottom hem at desired length.
- Take curtain down. Make sure raw edge of bottom hem is folded under ~1/2″ or more and blackout liner is tucked under pinned hem.
- Mark pencil line ~1″ from edge and sew with straight stitch.
- Now you have 1 complete panel! Repeat for your second panel. Note: When you reach Step 8, you don’t need to hang the 2nd panel. Just measure your completed 1st panel and match the length.
- Hang both panels and admire your crafty work!

The DIY Simple Blackout Curtains by MushBrain, unless otherwise expressly stated, is licensed under a Creative Commons Attribution-NonCommercial-NoDerivs 3.0 Unported License. Terms and conditions beyond the scope of this license may be available at mushbrain.net.

They are beautiful! Congrats on getting them finished!